On- the- Go Fruit Bars

Ever miss pop-tarts or those fancy little Nutri- Grain bars now that you are eating healthy? I missed the convenience of grabbing something quick in the morning. I never missed pop-tarts until I got pregnant and now- preggo CRAVING HOLY COW!! Here is my simple fix to my craving and keeping it healthy and Paleo. *Egg Free
On- The- Go Fruit Bars
Ingredients:
- 1 C. Almond Flour
- 2 Tbsp. Coconut Flour
- 1/2 tsp. Sea Salt
- 1/3 C. Maple Syrup
- 4 Tbsp. Cold Butter
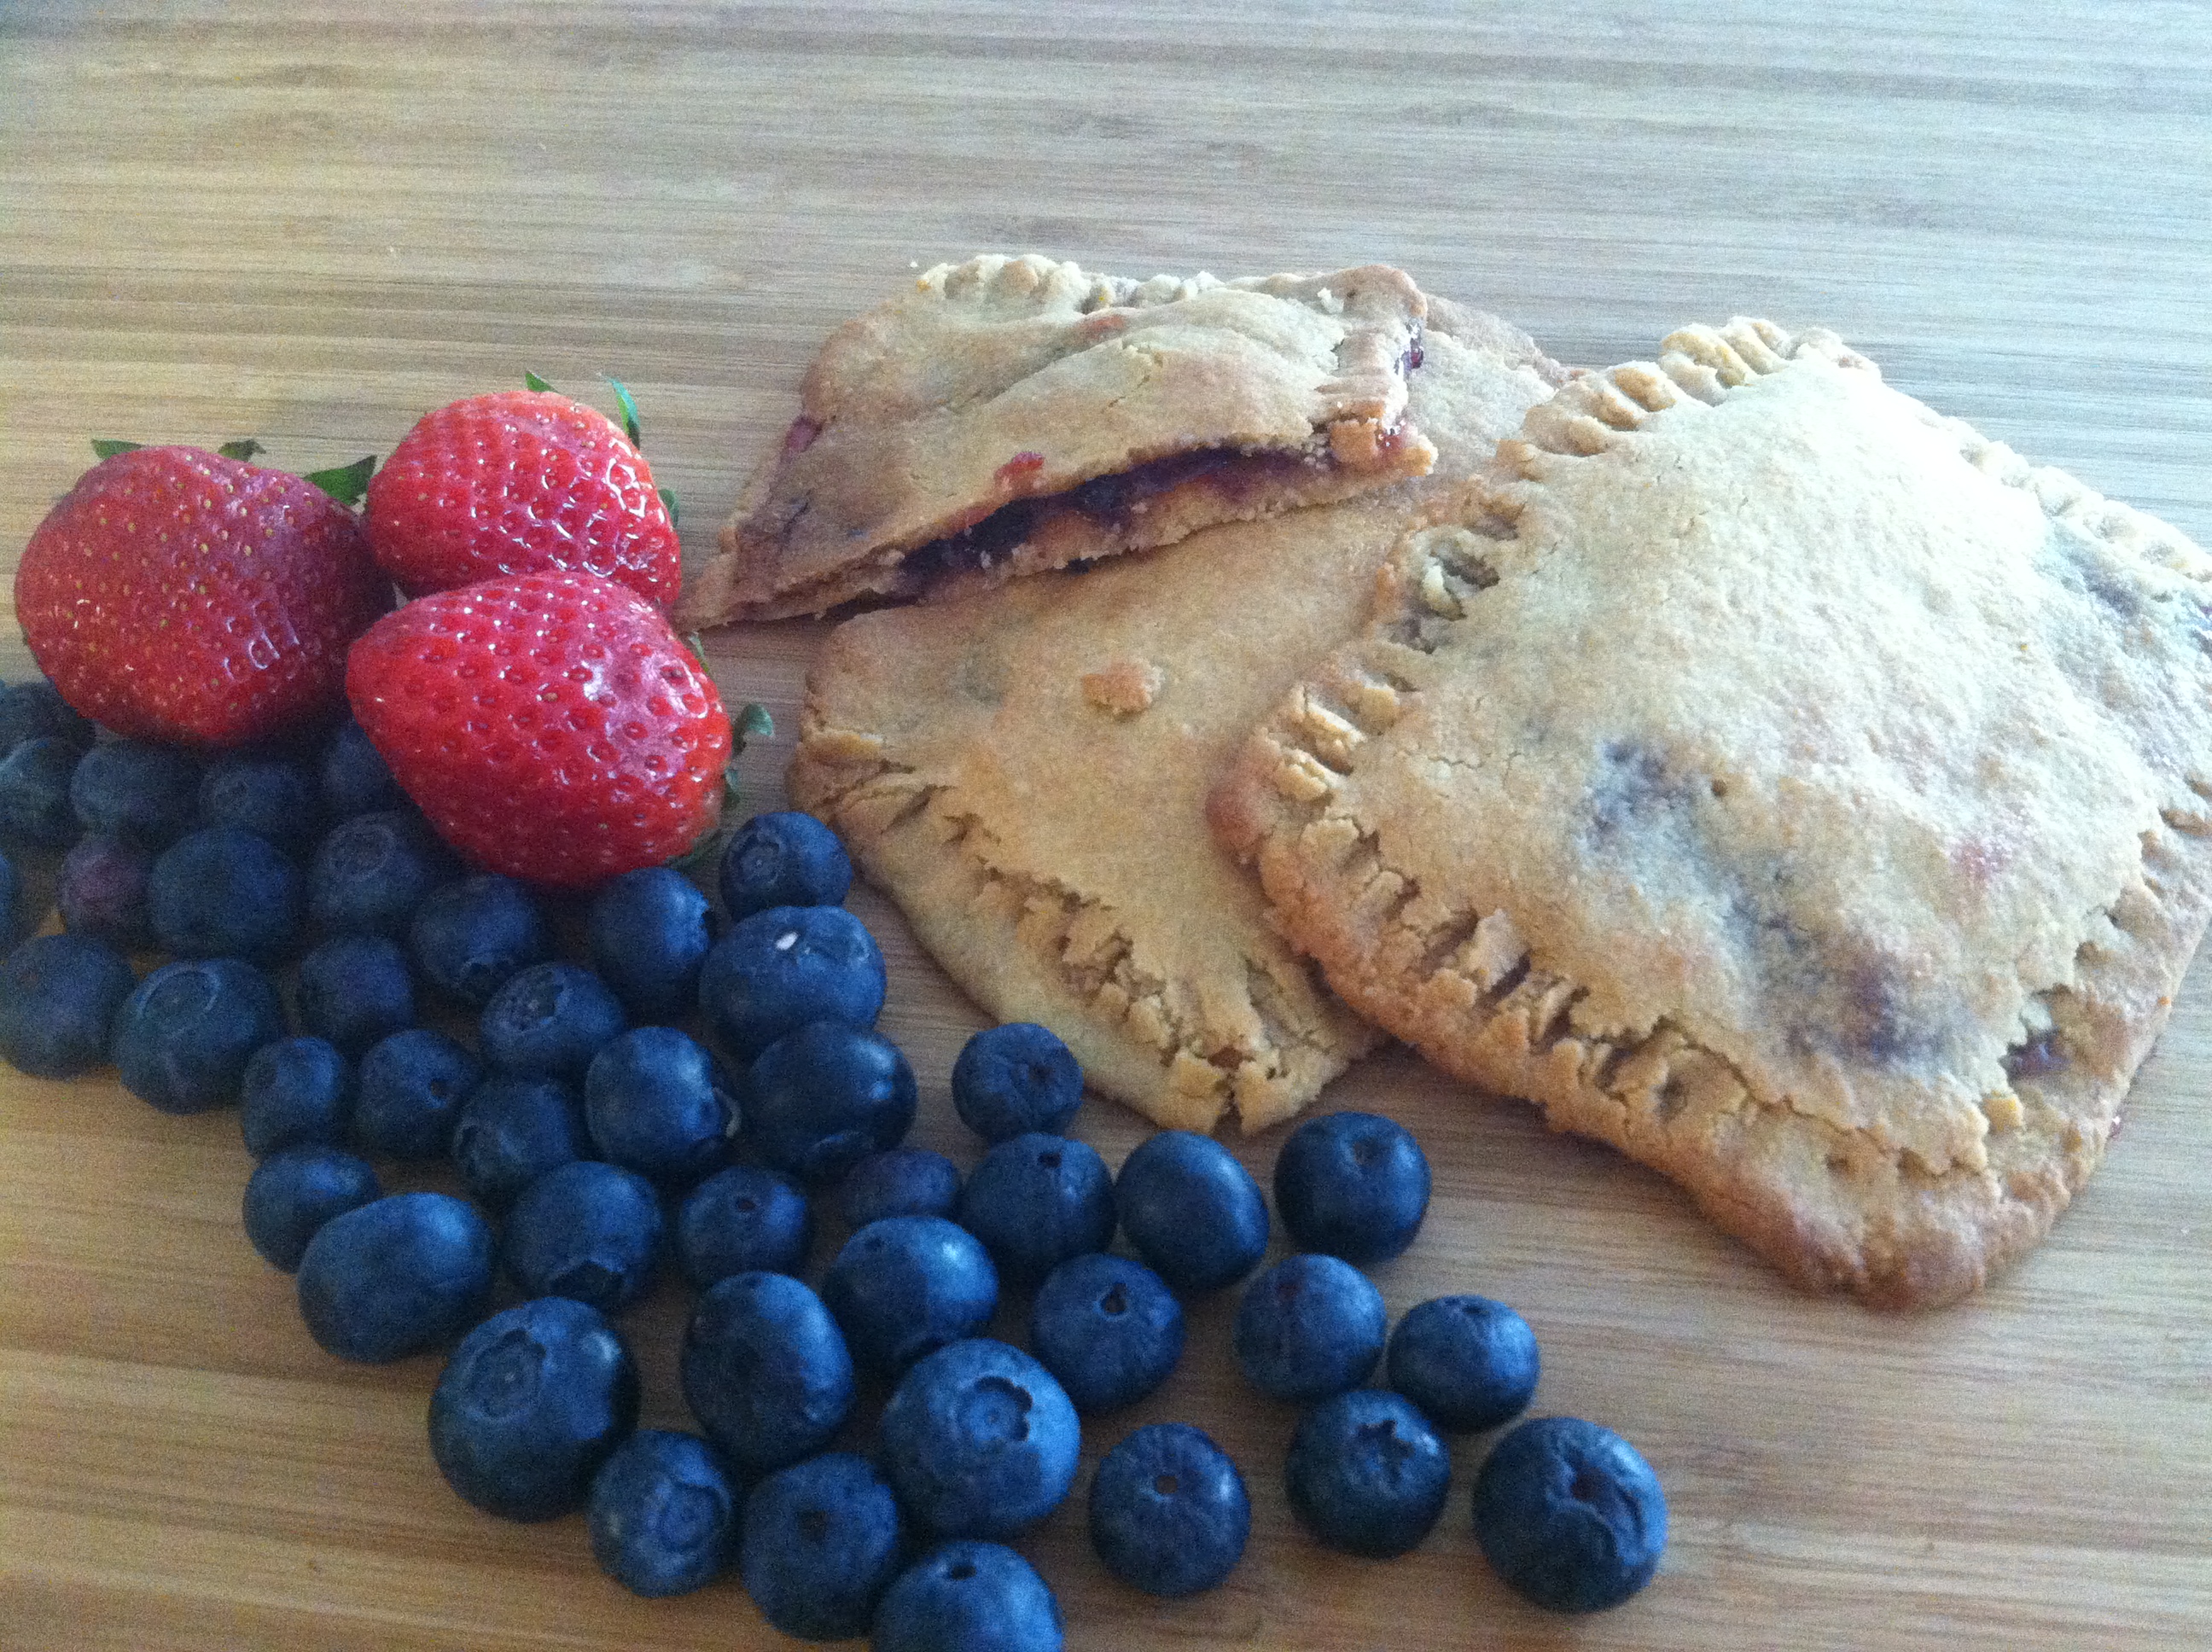
- 1 C. Jam of your choice, we use my Strawberry, blueberry or Mixed Berry (just combine both jams) freezer jam recipe.
Process:
- Combine Flours, salt and syrup in a bowl and mix with a blender.
- Add butter a Tbsp. at a time and mix with a blender.
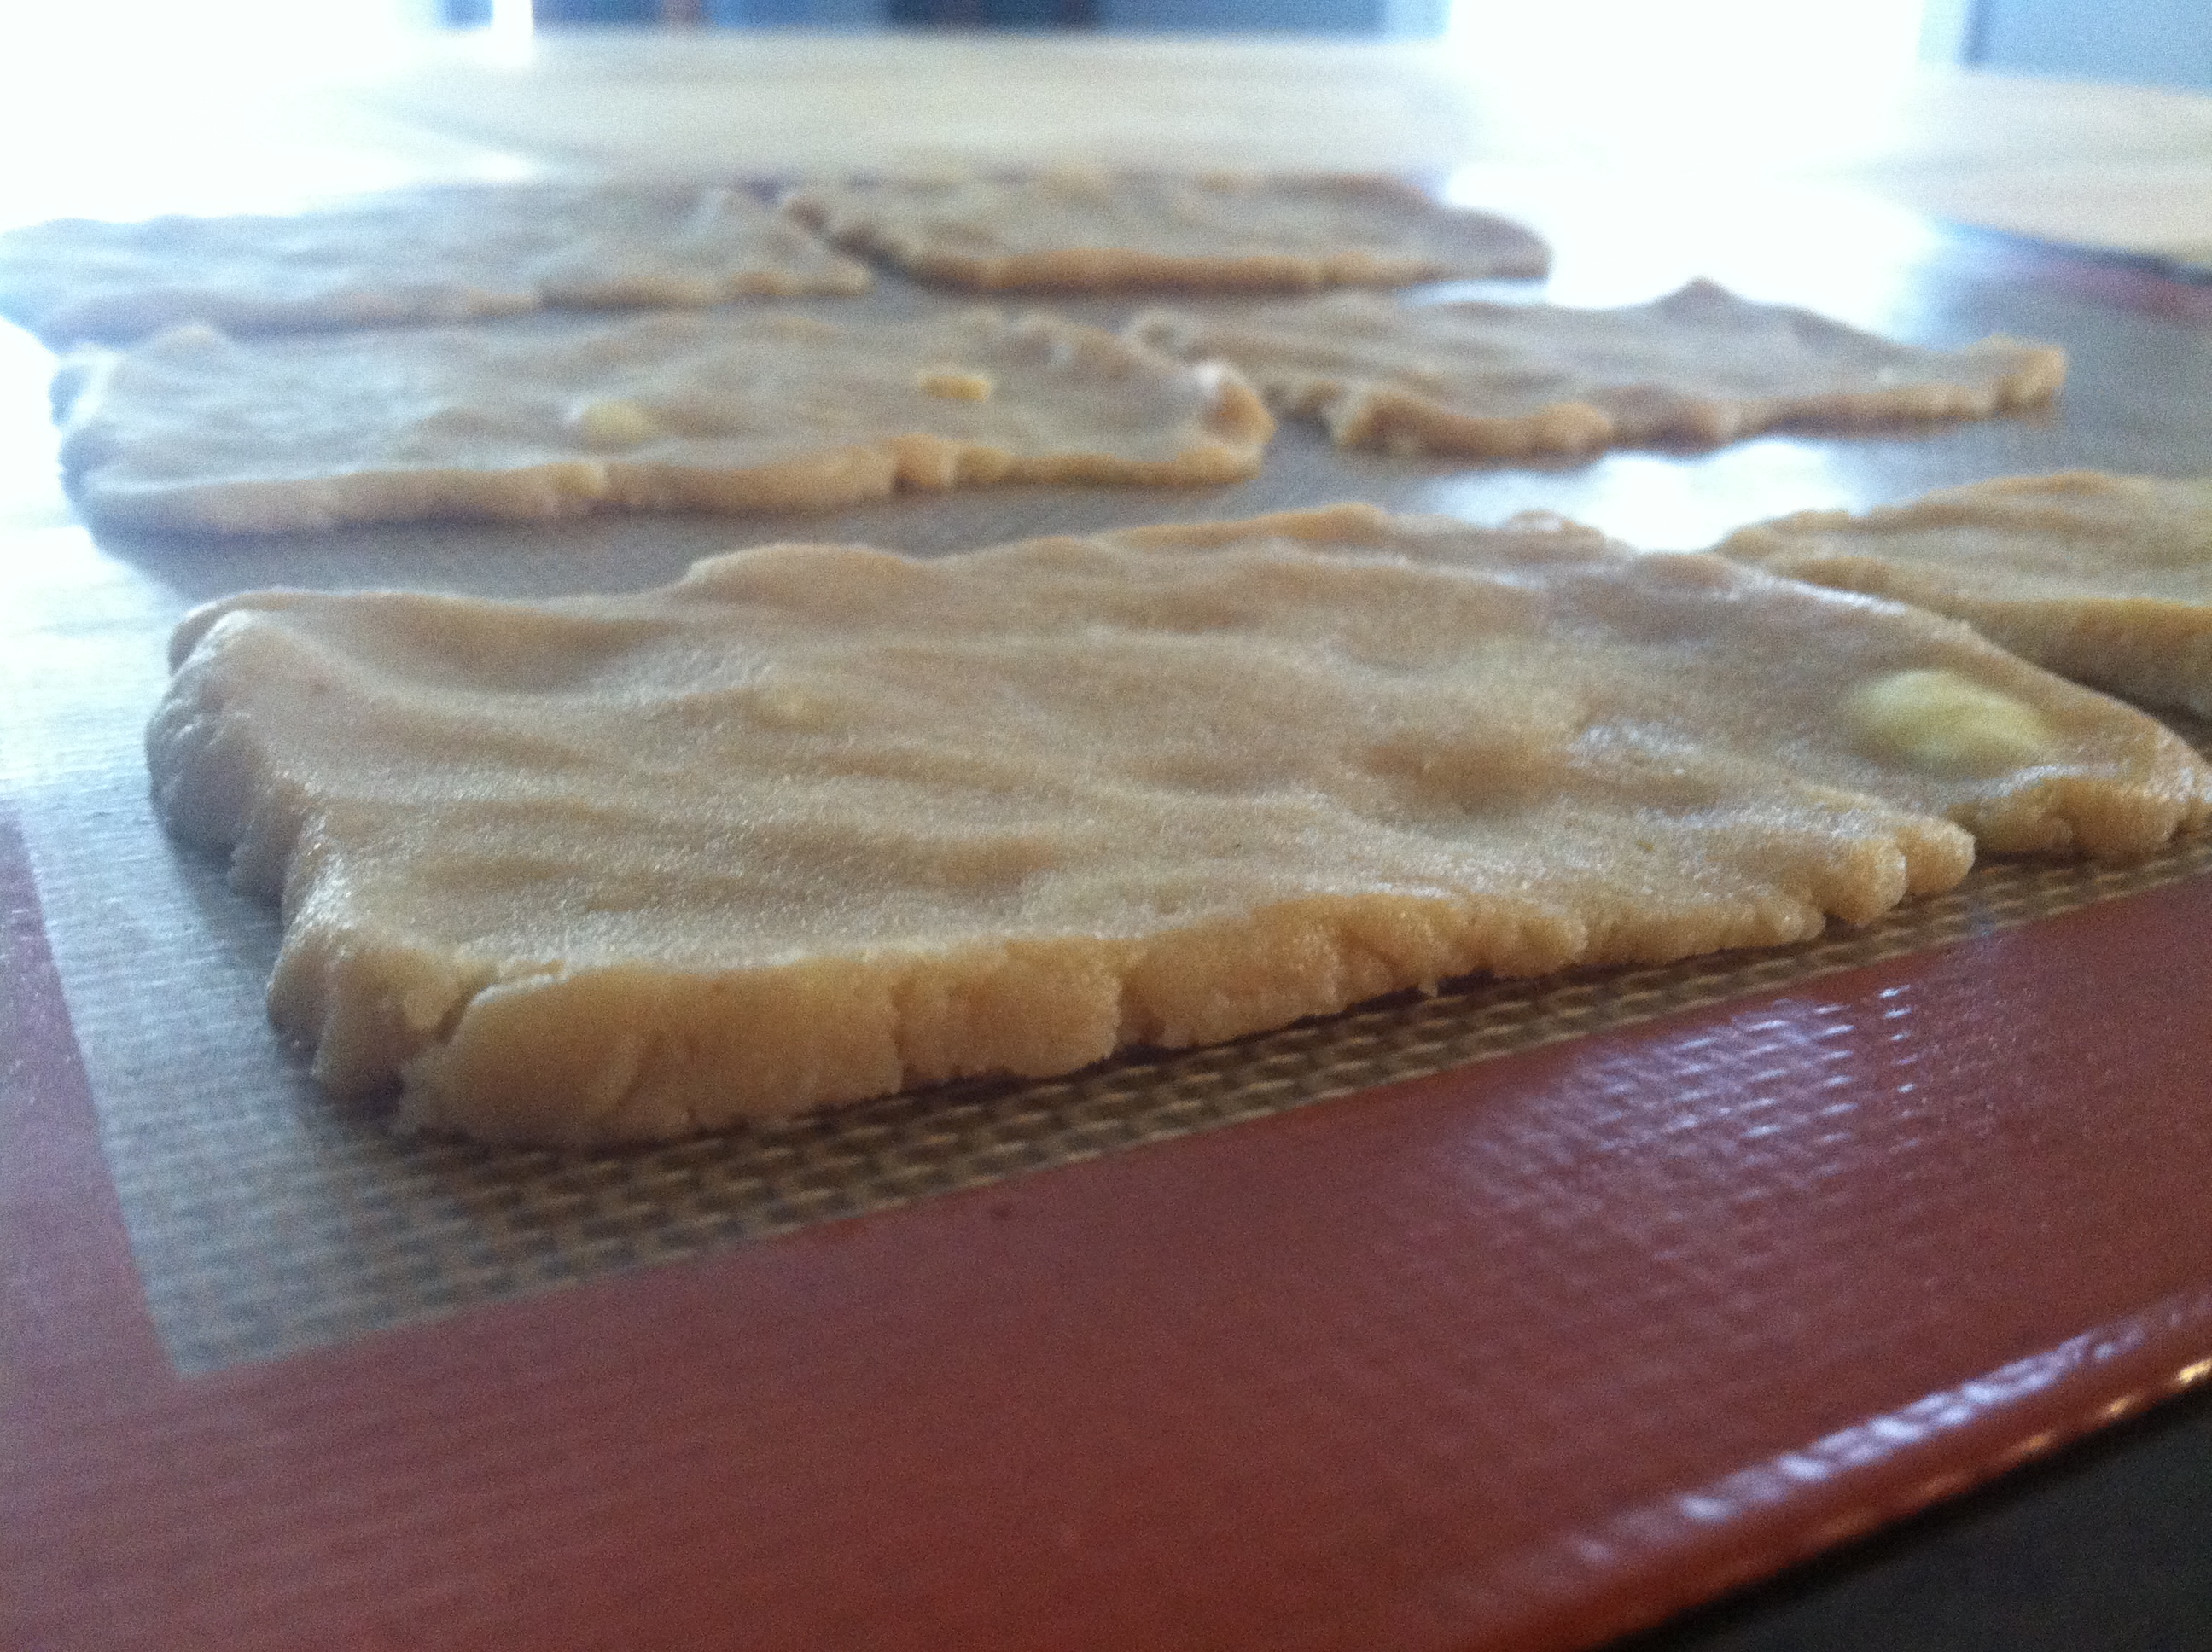
- Place batter in the fridge for 20-30 minutes, the longer you put it in the fridge, the easier the dough is to work with.
- Preheat oven to 375 degrees.
- Line a cookie sheet with Parchment paper or a silpat
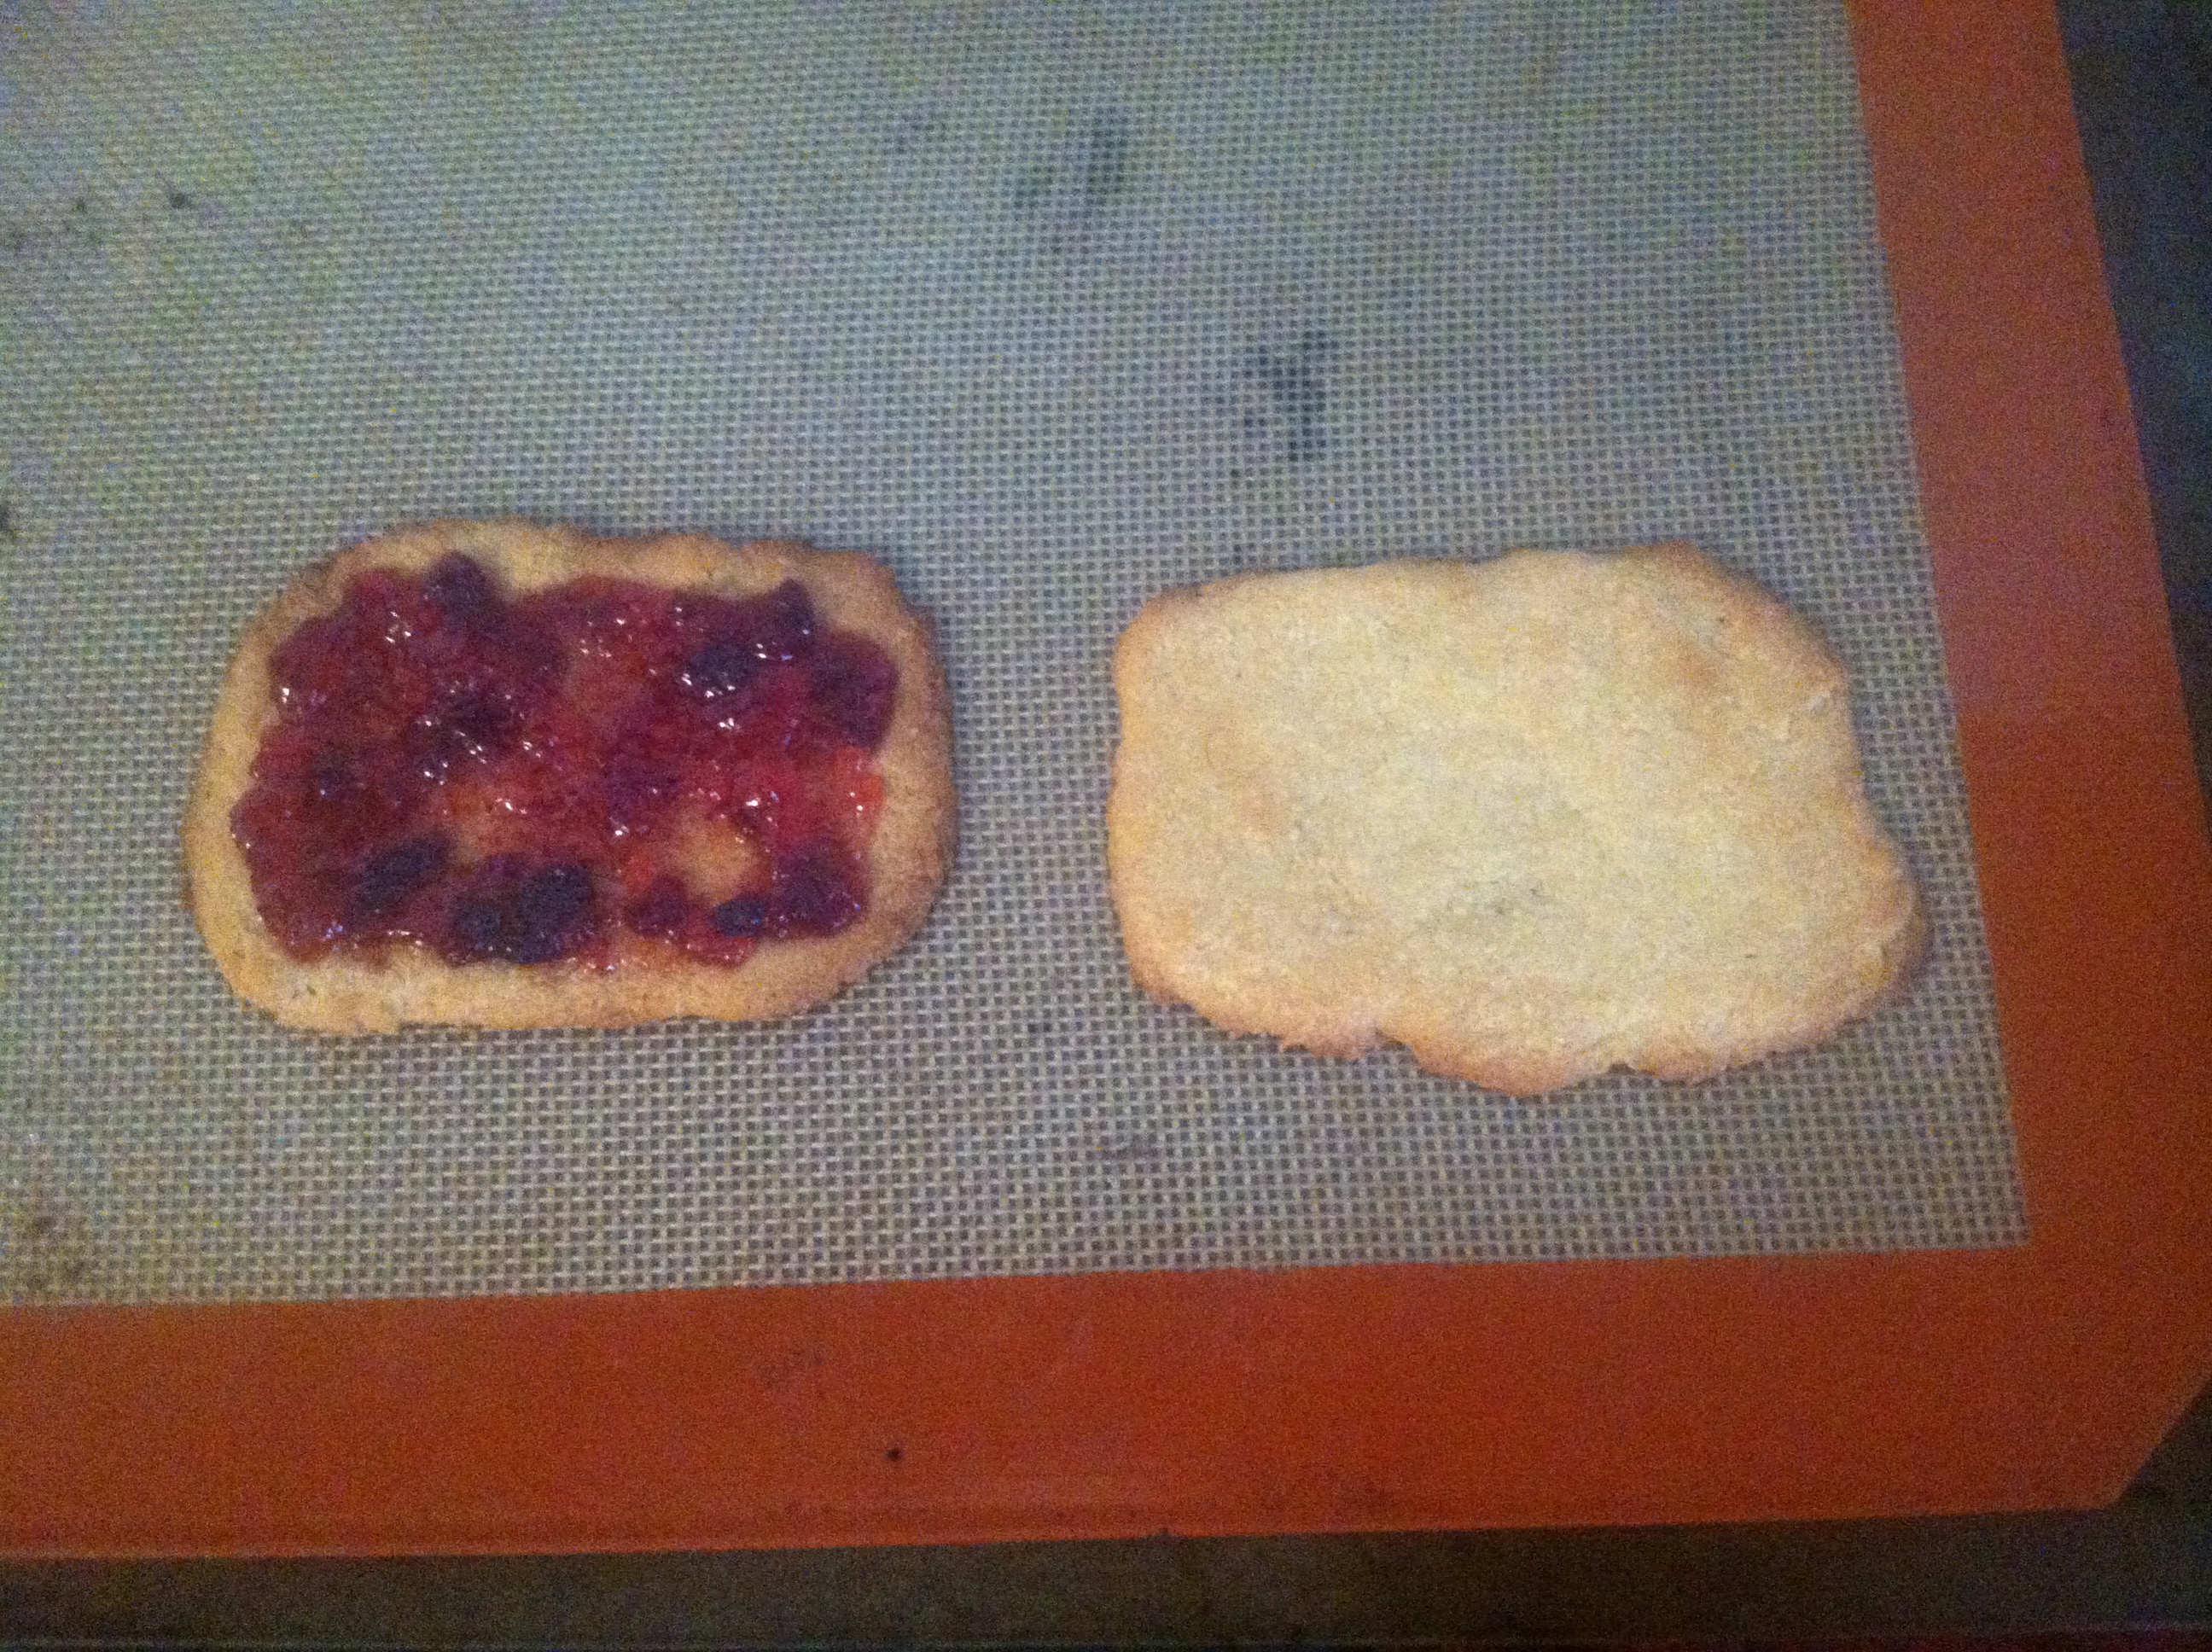
- Scoop 1 Tbsp of dough onto the cookie tray and pat it into 2 1/2″ x 3 1/2″ rectangles. (Don’t pat the dough too thin or the jam will leak through.) You will need 2 pastries per bar. You should be able to get about 6 on-the- go bars per batch.
- Bake the pastries for 5 minutes, should be slightly yellow/ golden but not browned.
- Let them cool for two minutes and then place 1/2 Tbsp. of jam on one side of the bar. Leave room on the edges of the pastry so that you can press the two pastries together.
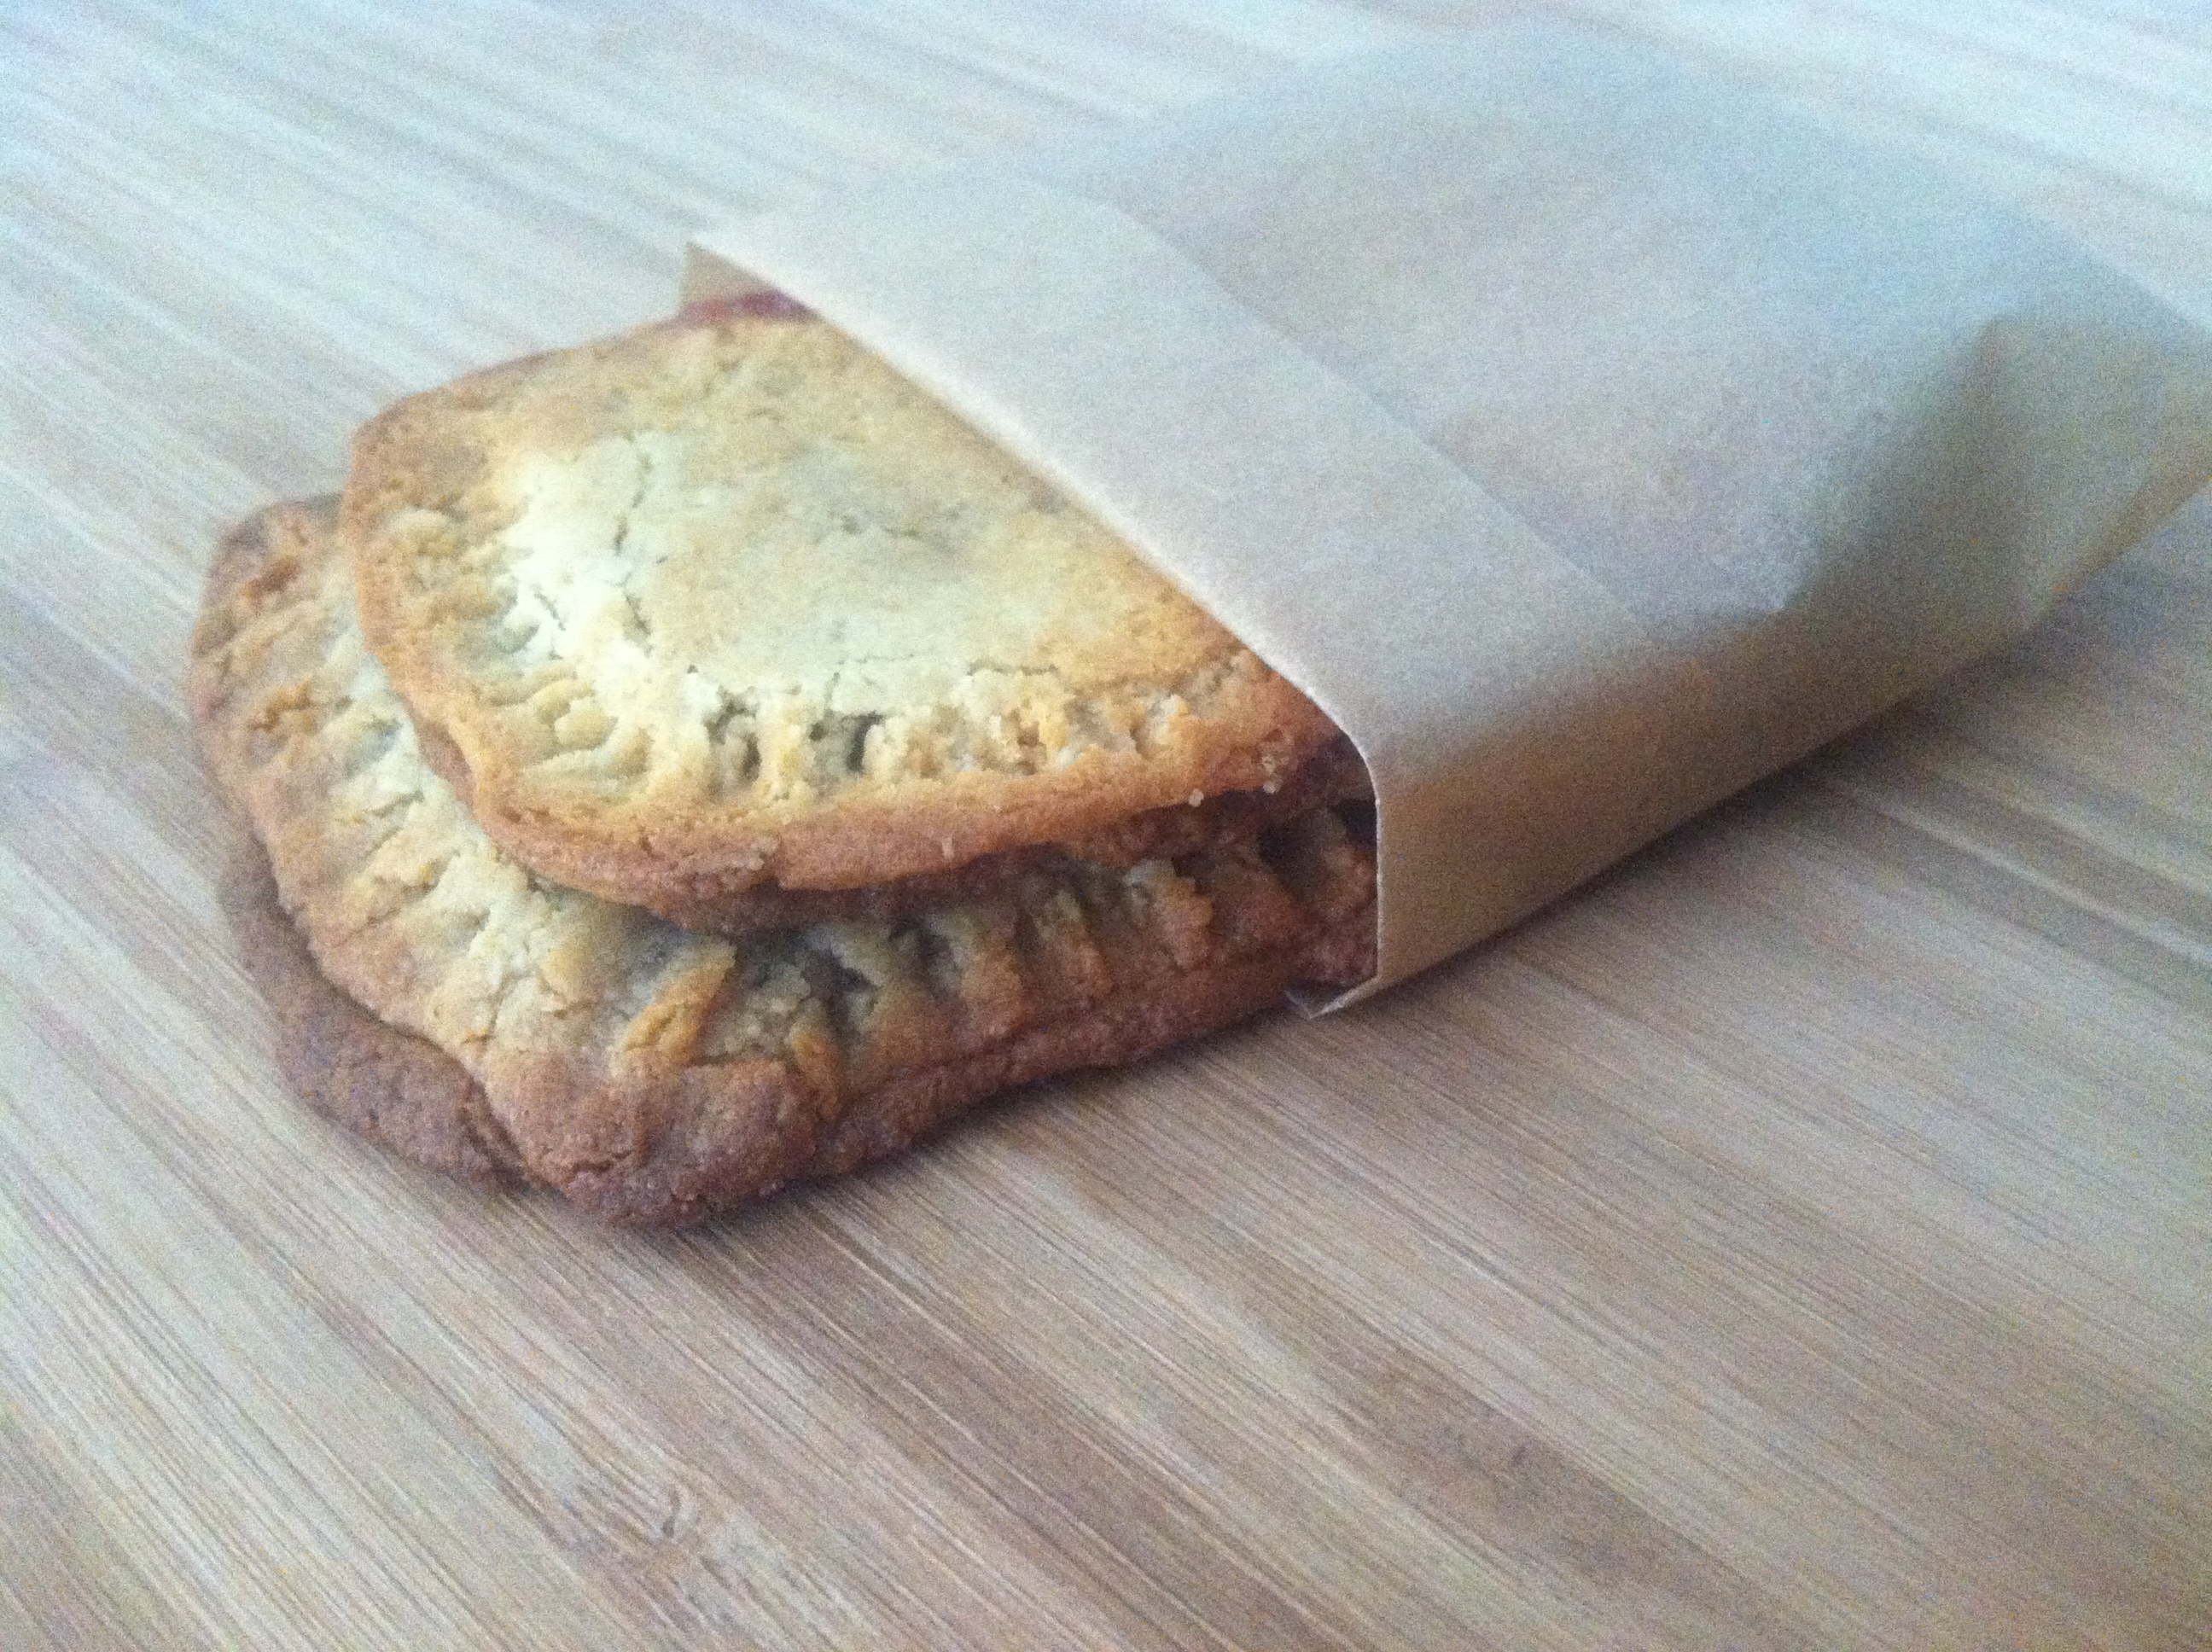
- Place the other side of the pastry on top of the jam and press it firmly with a fork. (This process is very fragile, I use a large spatula to loosen the pastry and then I fold the silpat over top of the jam pastry.)
- Bake the bars for 2 minutes and then flip them and bake for 2 more minutes.
- Let them cool on a wire rack for 10 minutes.
- You can wrap them in parchment paper or store them in a tightly sealed container for 3-4 days. These are great for breakfast and on the go snacks.
Step 6 visual:
 Step 7 & 8 visual: